Blink default LEDs in IoT: Important Code for Exam

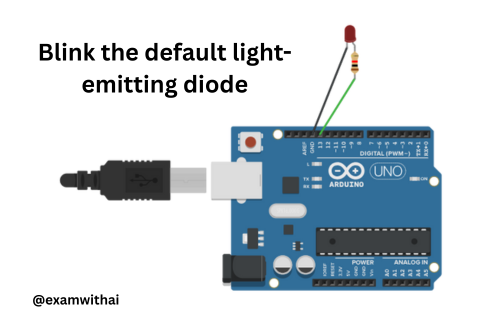
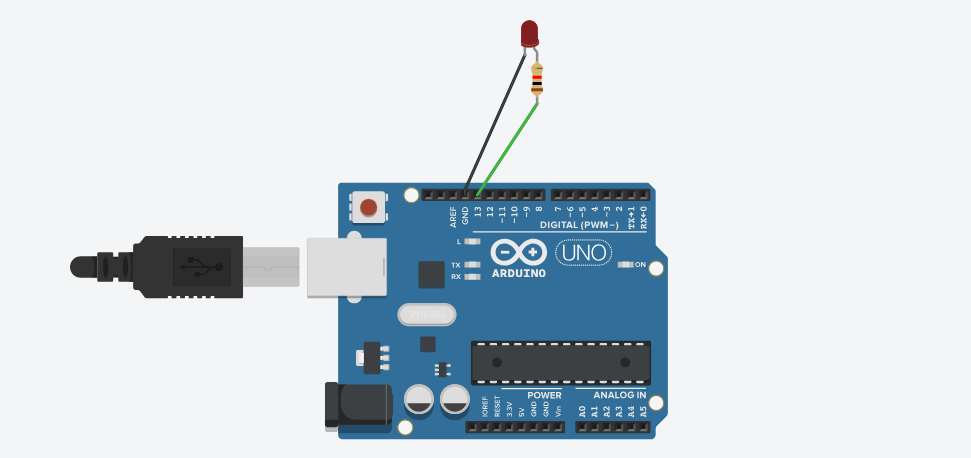
Write a program to blink the default light-emitting diode (LED) on the Arduino board with a delay of 2 seconds.
Blink default LEDs in IoT: Program to blink the default light-emitting diode (LED) on the Arduino board with a delay of 2 seconds.
// LED blink default
- This is a comment.
- It’s used to describe the purpose of the code. Comments are ignored by the Arduino compiler.
void setup() { ... }
- This is the setup function, which runs once when the Arduino is powered on or reset.
- It is used to set up initial configurations like pin modes.
pinMode(13, OUTPUT);
- Sets digital pin 13 as an output pin.
- This is necessary because we want to send signals (HIGH/LOW) to the LED.
void loop() { ... }
- This is the main loop of the program. It runs repeatedly forever.
- All blinking logic is placed here.
digitalWrite(13, HIGH);
- Turns ON the LED by sending 5V (HIGH) to pin 13.
delay(2000);
- Pauses the program for 2000 milliseconds = 2 seconds.
- The LED stays ON during this time.
digitalWrite(13, LOW);
- Turns OFF the LED by sending 0V (LOW) to pin 13.
delay(2000);
- Pauses the program for another 2 seconds.
- The LED stays OFF during this time.
What Happens Repeatedly:
- LED turns ON → wait 2 seconds
- LED turns OFF → wait 2 seconds
- Repeats forever
CODE
//LED blink default
void setup()
{
pinMode(13,OUTPUT);
}
void loop()
{
digitalWrite(13,HIGH);
delay(2000);
digitalWrite(13,LOW);
delay(2000);
}
OUTPUT


